Troubleshooting Image Quality and Consistency in Prompt2Pic Studio
Apr 2, 2026 • 9 min
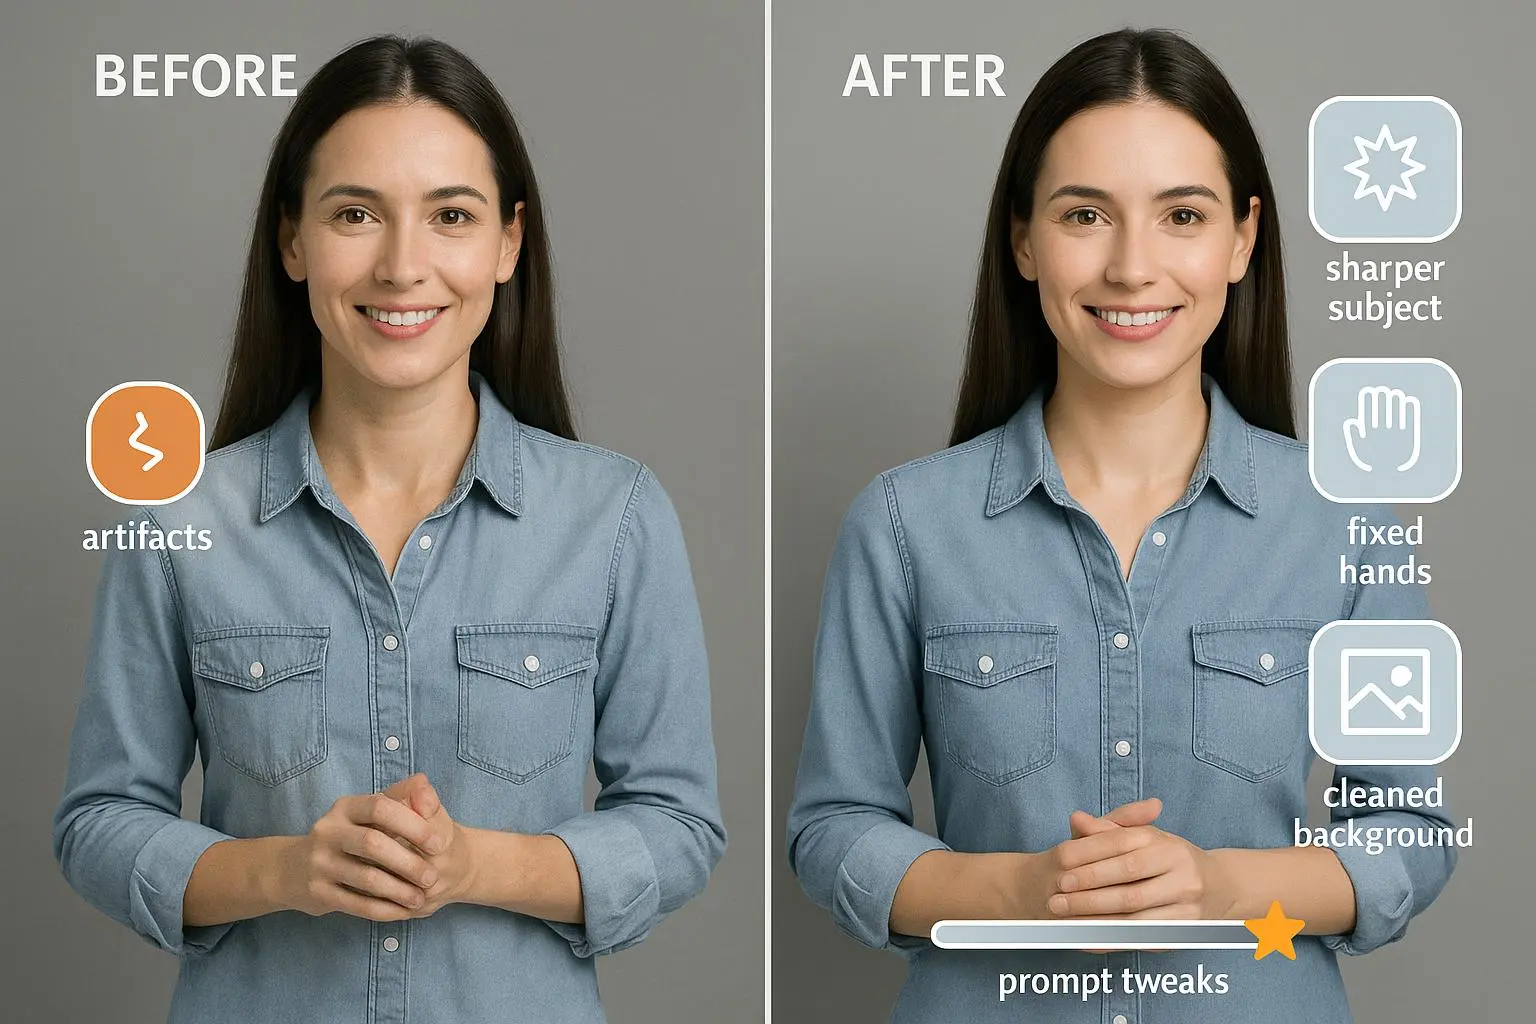
You wrote what you thought was a perfect prompt. The preview loads and... the face is melted, fingers are wrong, backgrounds look like noise, and five variations later you still don’t have a single usable image.
Been there. I’ve spent more hours than I’m proud of poking at CFG sliders, rewriting prompts, and chasing seeds to get a consistent character across a series. Prompt2Pic Studio is powerful, but it isn’t psychic. Fixing image quality and getting predictable results means learning a few practical levers—and how they interact—so you can stop guessing and start producing.
This guide walks through the three stages I use when an image goes wrong: cleaning up technical artifacts, getting the model to interpret your intent, and locking in consistency across batches. No fluff. Just things you can try in the next ten minutes.
The AI art paradox: creative models, chaotic results
Generative image models work by gradually denoising a starting pattern of random noise into something meaningful. That process is elegant—and fragile. Small changes in settings, wording, or even the seed can swing a result from "chef's kiss" to "seriously what is that."
Here’s the practical truth: most bad images come from one of three places—low-resolution latent steps (which get upscaled badly), overly strict or overly loose guidance (CFG), or unclear prompts. Address those first and you’ll fix 80% of problems.
Phase 1: Diagnose and eliminate technical artifacts
If your image looks blurry, has odd textures, or anatomical errors, start here.
High-res fix vs. upscaler
- Many models generate at a low latent size (512×512) and then upscale. If the latent pass is noisy or wrong, upscaling just makes the mess bigger.
- Always try Prompt2Pic’s built-in “High-Resolution Fix” or a trustworthy upscaler. It runs a second diffusion pass focused on detail, not just naive interpolation.
A quick rule: if the problem is detail (blur, soft edges, smudged faces), try high-res fix first. If the problem is composition (weird limbs, misplaced eyes), move to CFG and negative prompts.
CFG scale: let the model breathe
- The CFG (Classifier-Free Guidance) scale tells the model how hard to follow your prompt. Too low (3–6) and you get creative, loose outputs. Too high (12–20) and the model clamps down—often producing repetitive textures, harsh edges, or artifact accumulation.
- My practical ranges: portraits and highly detailed photorealism → start at 8–12. Stylized art → 6–9. If you see repetitive noise or unnatural sharpening, try reducing CFG by 2–4 points.
Negative prompts: say what you don’t want
- Negative prompts are non-negotiable. Create a short, reusable block you paste into every job: "blurry, deformed, extra limbs, fused fingers, low quality, jpeg artifacts, watermark, text, bad anatomy"
- Users who adopted a consistent negative block report failure rates dropping dramatically—try one and iterate. Negative conditioning often removes the “AI hallmarks” that spoil otherwise great renders[1].
Sampling methods and steps
- The sampler and number of steps change the polish of the image. DPM++ and Euler variants behave differently; DPM++ often gives smoother gradients, while Euler can produce crisper, punchier results.
- Start around 20–30 steps for general work. If things look noisy or unfinished, increase steps by 5–10. If you see weird repeating artefacts, try a different sampler.
Micro-moment: I once fixed a stubborn portrait by switching from Euler a to DPM++ and lowering CFG by 3. The jawline, which had been melted for hours, snapped into place like someone turned a dial. Small changes matter.
Phase 2: Make the model understand your intent
When images are technically fine but the idea is wrong, it’s a prompt problem. Models are literal. They need context, style, and weight.
Be specific, but not greedy
- Replace vague lines like “a beautiful landscape” with: “hyper-detailed cinematic photograph of the misty Scottish highlands at dawn, volumetric lighting, wide-angle, 50mm, 8k.”
- Use weighting syntax where available, e.g., (Scottish highlands:1.3). Emphasize the parts that matter most.
Style and medium are anchors
- Telling the model the medium and referencing an aesthetic gets you out of “generic AI” territory. Try “photorealistic 35mm film grain,” “oil painting by [artist name],” or “industrial design concept art.”
- If you want photorealism, explicitly state camera type, lens, and lighting. That consistently pushes models toward fidelity.
Avoid prompt soup
- I see people paste paragraphs into a prompt hoping the model will prioritize the important parts. It won’t.
- Keep a concise core concept (1–2 short sentences) and use weights for emphasis. Put exclusions in the negative prompt.
A concrete example
- Bad: “robot in a city.”
- Better: “ultra-detailed industrial robot, chrome plating, brushed steel, reflective surfaces, cinematic backlight, concept art, photorealistic, unreal engine, 35mm lens.”
- Add negative: “cartoon, low detail, toy-like, childish, blurry.”
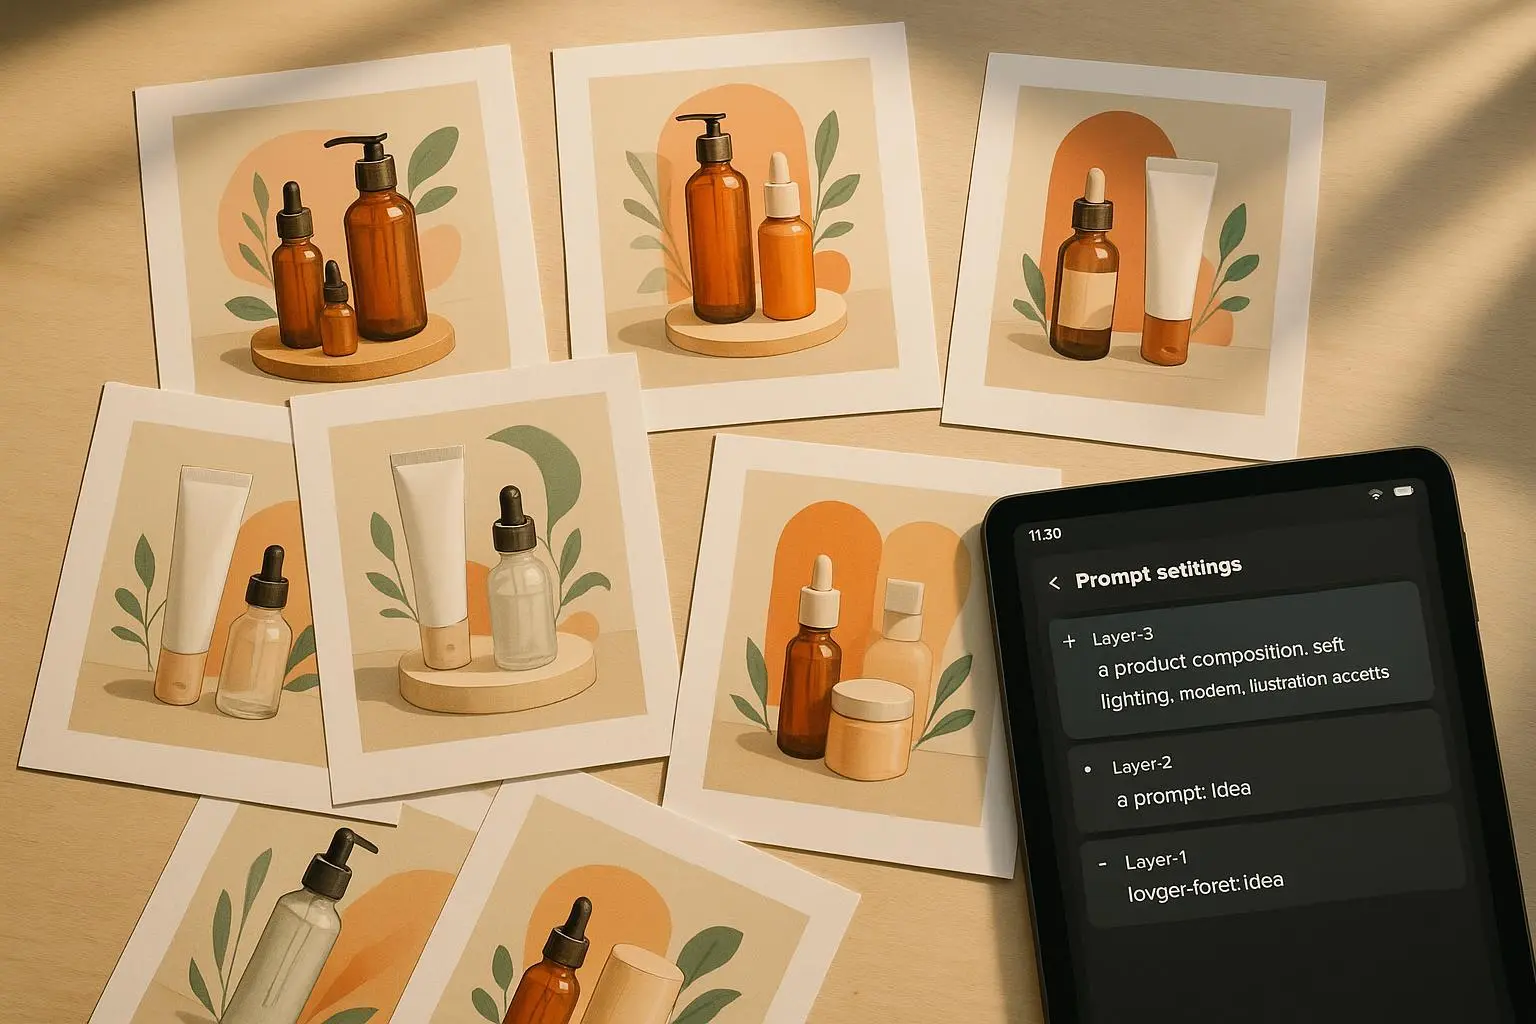
Real story (100–200 words) A client once asked me to generate a consistent mascot for packaging across 12 SKUs. My first attempts were a disaster—each image looked like a different creature. I locked the seed, used a long prompt with weights, and still got varying facial expressions and proportions. After three days of fiddling, the breakthrough came when I added a short style anchor: “character sheet, turnaround, consistent proportions, 3/4 view, neutral expression,” and paired it with ControlNet pose guides. I generated the base head and body with a locked seed, then used small seed variations for colorways and props. The result: 12 images that read as the same mascot, delivered in two rounds. The client stopped emailing me "these don't match" and started asking for variations.
That project taught me to plan for character work: treat it like line art + color work, not a freeform image generation task.
Phase 3: Consistency across batches — seeds, variations, and ControlNet
If you're making a comic, product line, or character sheet, consistency is non-negotiable. These are the levers that actually lock things down.
Seed locking: reproducible starting noise
- The seed is the initial random pattern. Lock it, and you can reproduce the same image if everything else (prompt, CFG, steps, sampler, size) is identical.
- If you like an image, immediately note the seed. Use that seed to regenerate or to make tiny variations.
Iterative variation strategies
- To get a series of similar images, lock the seed and change one small thing: expression, accessory, or background. Don’t change the camera angle or the core style.
- Prompt2Pic’s "Seed Variation" feature (if available) offsets the seed slightly to give you images that are close but not identical—perfect for generating a batch of distinct-but-related assets.
ControlNet for structure
- When prompts alone aren’t enough—especially for pose and expression—bring a structural input. ControlNet lets you pass a depth map, lineart, or pose skeleton. The model then follows those constraints, so the character stays put while you change lighting, color, or background[2].
- For comics or sequential art, export a pose map and reuse it for each panel. That was the fix for the mascot project above.
When seeds won’t save you
- Seeds are powerful, but if you change size, sampler, steps, or model checkpoint, the same seed won't produce the same result.
- Keep a generation log: seed, model checkpoint, sampler, steps, CFG, negative prompt block. It’s tedious but saves hours later.
Practical checklist for batch consistency
- Lock the seed for your base image.
- Record exact settings in a simple CSV or notes field.
- Use ControlNet for pose or structural needs.
- For visual variety, change small prompt tokens or use seed variations.
- Batch post-process (color grading, crop) to unify look.
Triage tips: troubleshoot fast when you're blocked
If you’re staring at a bad result and don’t know where to start, try this five-minute triage:
- Is it blurry? Apply high-res fix or increase steps.
- Are hands/limbs wrong? Add negative tokens and try a different sampler.
- Is the style off? Add a clear medium and camera specification.
- Need consistency? Check seed, settings, and consider ControlNet.
- Still stuck? Reduce CFG by 2–4 and simplify the prompt to its core concept.
Tools that help
- Upscale.media or Prompt2Pic’s built-in upscaler for bulk high-res fixes.
- PromptBase to borrow prompts that already work for a style.
- Remini or Adobe Express for final touch-ups and color matching.
Advanced considerations and common questions
How do samplers affect quality?
- Different samplers emphasize different trade-offs. If you want smoother gradients, try DPM++; for crisper edges, try Euler variants. Test them with a 3-image grid to see which suits your style.
VRAM and high-res fix
- The high-res pass increases VRAM usage and time. If you’re VRAM-limited, render at a slightly smaller canvas and upscale externally, or use tiled upscaling for very large images.
Multiple negative prompts with weights?
- Yes. Many tools accept weighted negatives. Try stronger weights on the most damaging artifacts (e.g., "deformed hands:-2.0") while keeping softer exclusions lighter. Experiment; weighted negatives can be surprisingly powerful.
Ethics note: fixing anatomical errors
- It’s tempting to fix every imperfection, but be mindful when editing depictions of real people. Always avoid generating misleading or harmful images, and consider consent and copyright when using artist names in prompts.
Wrap-up: the secret is deliberate experimentation
You don’t need to be a parameter jockey to get great results, but you do need a method. Here’s the short version I use on every job:
- Fix obvious technical issues first (high-res, sampler, steps).
- Then clarify intent with concise, weighted prompts and strong style anchors.
- Lock the seed and use ControlNet for structure when you need absolute consistency.
Small, deliberate changes beat frantic rewrites. Keep a small library of negative prompts and a generation log. After a few projects you’ll know which CFG ranges and samplers suit your aesthetic, and generating consistent, high-quality images will feel less like luck and more like craftsmanship.
References
Footnotes
-
Prafulla Dhariwal & Alex Nichol. (2021). Diffusion Models Beat GANs on Image Synthesis. Retrieved from https://arxiv.org/abs/2105.05233 ↩
-
Diederik P. Kingma & Max Welling. (2014). Auto-Encoding Variational Bayes. Retrieved from https://arxiv.org/abs/1312.6114 ↩
Ready to Optimize Your Dating Profile?
Get the complete step-by-step guide with proven strategies, photo selection tips, and real examples that work.