Advanced Diagnostics: Distinguishing Fuel Dilution, Coolant, and Aeration on Your Dipstick
Jun 27, 2026 • 9 min
Your dipstick is more than a stubborn bar that tells you if you’re low on oil. It’s a diagnostic window—one you can use to spot serious problems before they turn into expensive repairs. If you’ve ever found yourself staring at a soaked oil pan, a milky film on the dipstick, or oil that smells like gasoline, you know what I’m talking about. The dipstick isn’t perfect, but with the right tests and a little know-how, it can save you time, money, and a lot of headaches.
I’ve spent years tinkering in garages, chasing odd oil smells, and chasing down misfires that masked bigger problems. I’ve learned that three culprits—fuel dilution, coolant contamination, and oil aeration—show up in the same place but behave very differently. Distinguishing between them isn’t just about appeasing curiosity; it’s about choosing the right fix and avoiding a misdiagnosis that could ruin bearings, seals, or rings.
Here’s how I approach this in the shop, with practical steps you can do at home or bring to your technician. I’ll keep it concrete, with checks you can actually perform without turning your garage into a lab. And I’ll drop in a few real-world moments from my own experience to illustrate what happened when I ignored these cues—and what I learned when I started listening to the dipstick more carefully.
A quick aside that stuck with me: early in my career, I trusted the oil level gauge more than my own senses. It wasn’t until I started paying attention to the smell, the feel, and the blot test that I realized how much information the dipstick was hiding. The smell of gasoline in the oil isn’t a sign of a minor hiccup. It’s often a signal that something more serious is washing fuel past seals or that fuel injectors are dumping into the oil. Trust your senses, then verify with simple tests.
The three big culprits you’re looking for
Fuel dilution, coolant contamination, and oil aeration each have a distinct fingerprint. They can cause similar symptoms—levels look fine, or you see some unexpected film—but they’re not the same problem, and they require different fixes.
- Fuel dilution: Gas or diesel in the oil lowers viscosity and protection. It often stems from long-term rich mixtures, leaky injectors, or poor combustion that leaves unburnt fuel washing into the crankcase.
- Coolant contamination: The oil mix with glycol and water. This is a serious red flag that points to a head gasket leak, a crack, or an oil cooler issue. It’s not something you want to ignore: it can destroy bearings and bearings quickly.
- Aerated oil: Air bubbles in the oil. More common than you’d think, often caused by overfilling, PCV issues, or a faulty oil pump. It can fool you into thinking you have plenty of oil when you don’t actually have consistent lubrication.
Let me walk you through the practical diagnostics that separate these three, with steps you can actually perform and what to look for.
Smell, feel, and the blot test: quick triage
These three cues are the easiest to start with. They won’t replace a lab analysis or a compression test, but they’ll tell you where to look next.
Smell: A strong gasoline odor coming off the dipstick is a telltale sign of fuel getting into the oil. It’s not “just a little fuel smell”; it’s a signal that the engine’s lubrication is being compromised and you should dig deeper.
Feel: Oil that feels noticeably thinner than fresh oil, almost watery, is another warning. Fuel dilution lowers viscosity, which means less film strength to protect bearings and cam surfaces.
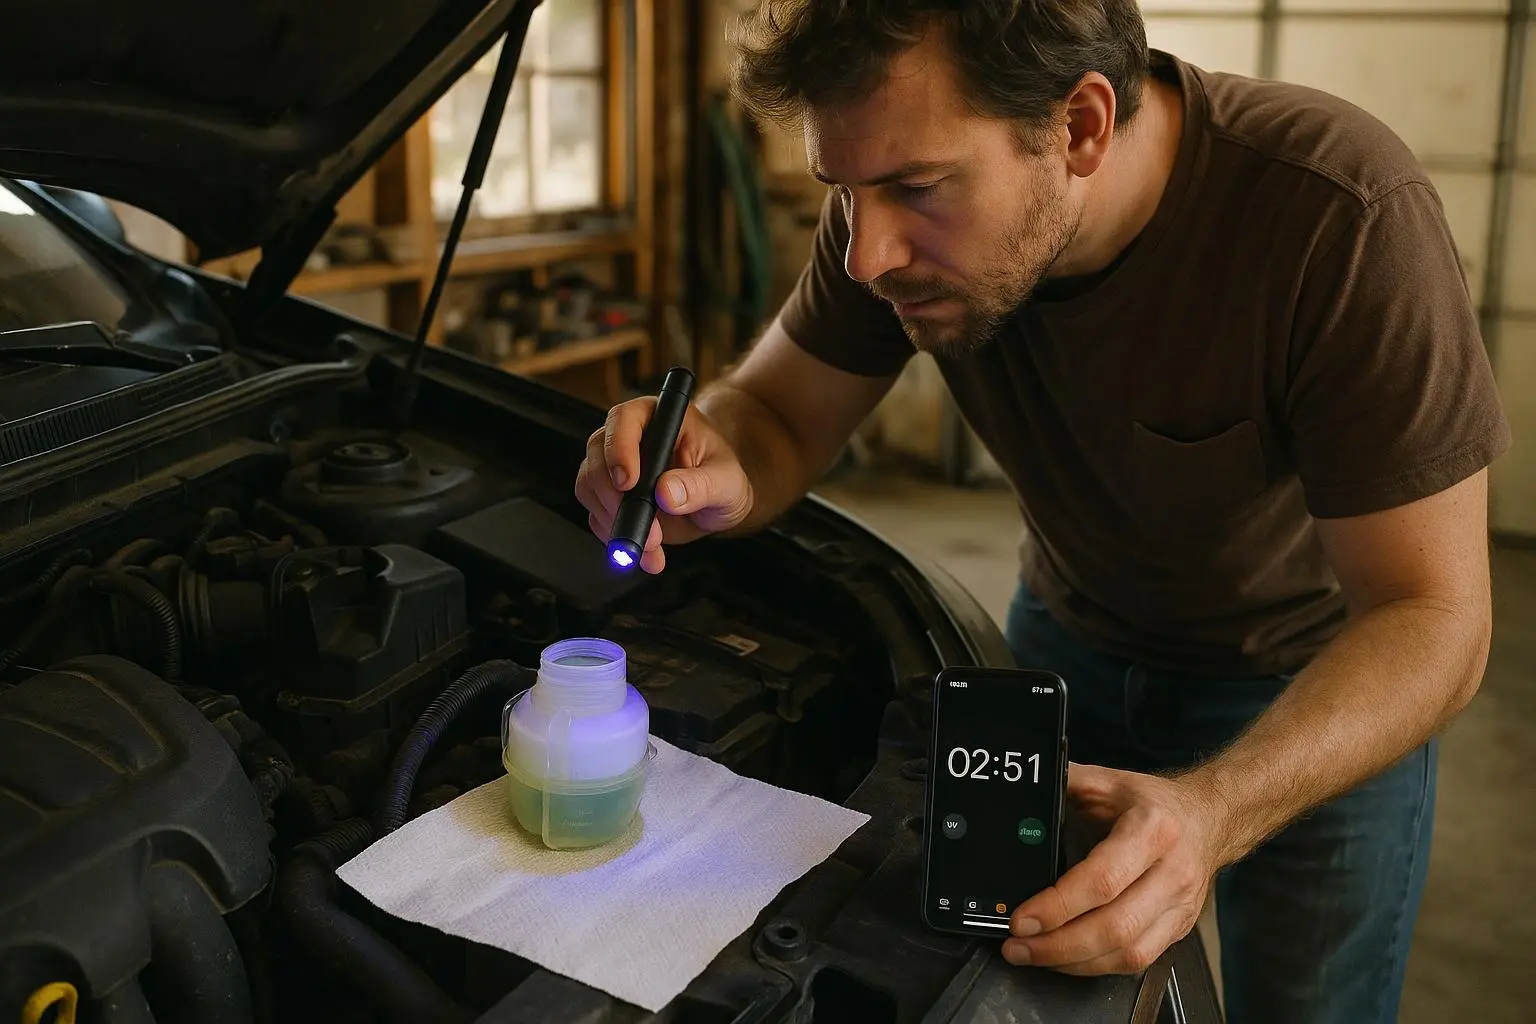
Blot test: This is the low-tech hero test. Warm the engine, let the oil settle, and place a single drop on a clean paper towel. Observe after a few minutes to see how the drop spreads.
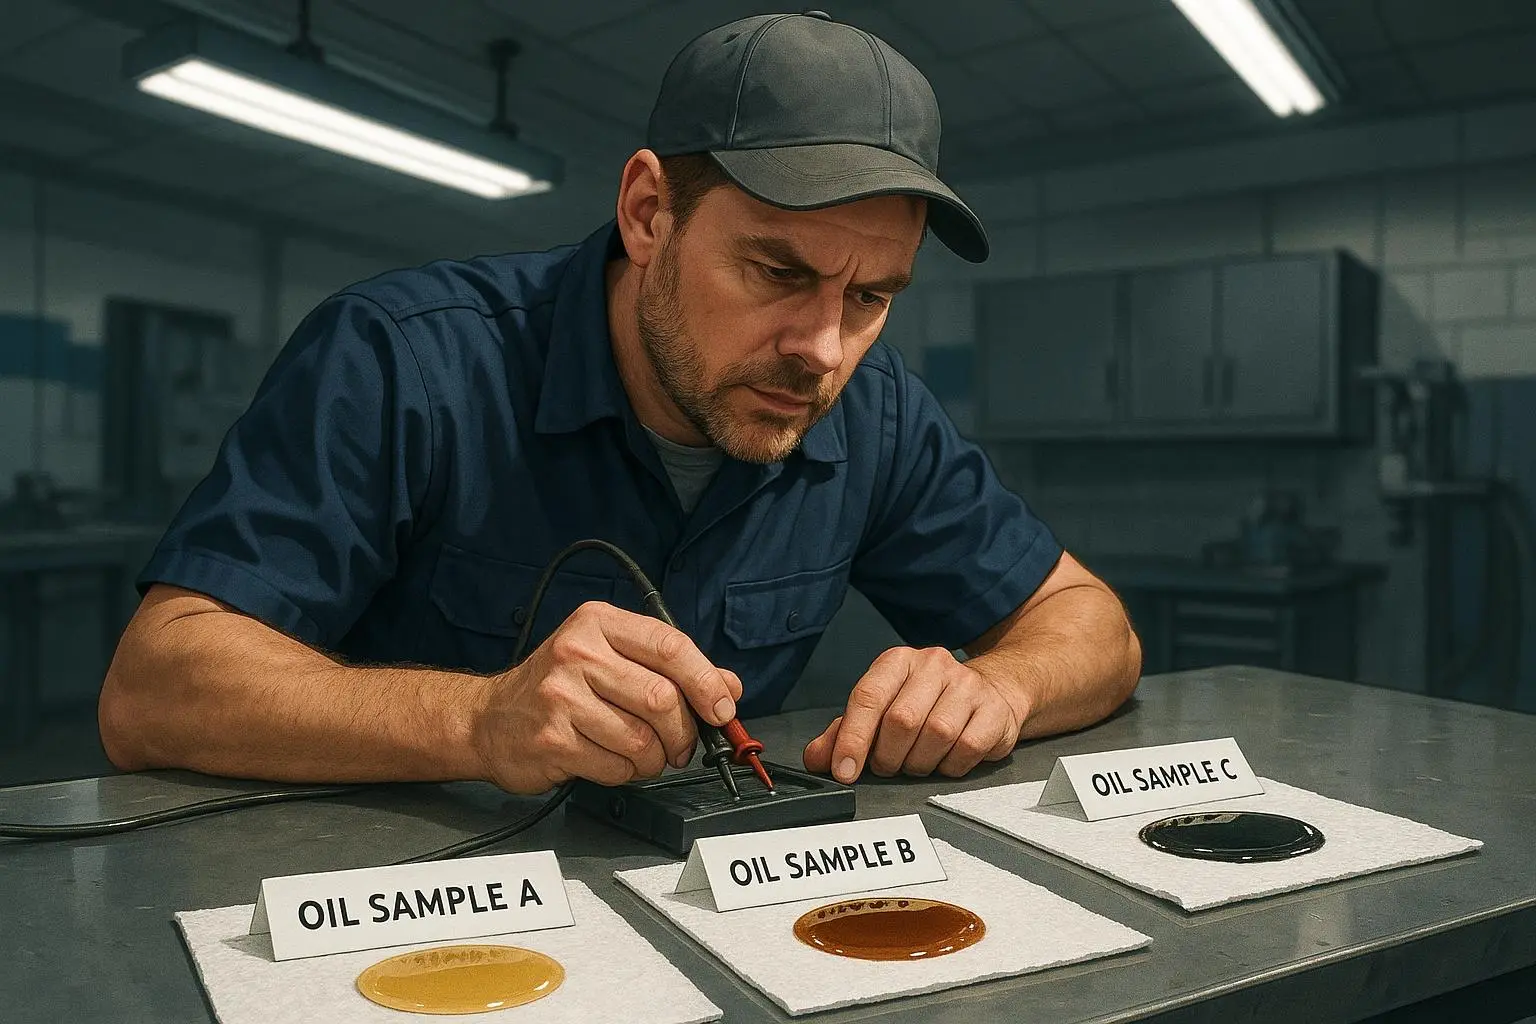
Healthy oil: The drop remains a compact blob with a gradual spread, leaving a darker center and a lighter ring on the towel.
Fuel dilution: The drop spreads quickly, producing a large, light outer ring that signals reduced viscosity.
Coolant contamination: The blot shows a mottled pattern with separated spots or rings. You’ll notice distinct areas where the water-based coolant hasn’t mixed with the oil, often producing a bullseye or splotchy look.
Aeration: Foamy or bubbly appearance on the blot, sometimes with a thicker center if air pockets are trapped.
A micro-moment that stayed with me: I once blotted some oil after a long highway haul and didn’t see much on the towel. I almost waved it off, thinking I’d just burned off some oil. Then I checked the smell. It smelled strongly like gasoline. That tiny aside—the smell—saved me from chasing a phantom fuel issue while ignoring the real leak at the injectors. It’s amazing how a single sense can guide the whole investigation.
The compression test: reports from the cylinders
A compression test is the second step that gives you an objective read on whether fuel dilution or oil contaminants have done damage to the piston rings or valve seats.
- Why it matters: If you have low compression in one or more cylinders, that’s a sign of blow-by, which allows combustion gases to sneak into the crankcase and draw fuel into the oil.
- How to do it quickly: Disable the ignition, remove the spark plugs, and crank the engine with the throttle held open a bit (if your method requires it) to get a stable reading. Compare each cylinder’s numbers to the manufacturer’s spec. Look for consistent patterns: one weak cylinder could point to a particular ring or valve issue; multiple weak cylinders could indicate a broader wear problem or a head gasket issue.
- What you’re looking for: Consistency across cylinders is ideal. If you see one or two cylinders notably lower than the rest, that’s a signal to dig deeper with a wet test or leak-down test.
A personal note here: I learned the hard way that a good compression test isn’t a one-and-done event. If you’re chasing a vague oil condition issue, you’ll want to recheck after the engine has warmed up, after you’ve replaced a suspected injector, or after you’ve performed a valve lash adjustment. Small changes can hide behind the standard numbers, especially in older engines.
Spark plugs: the four-hour narrative in a single cap
Spark plugs tell a story about how the engine burns fuel and air, and they can highlight when things are going wrong in ways you can’t feel through the dipstick alone.
- Fuel dilution clue: Wet, fouled, or blackened plugs can indicate a rich condition or misfires that allow unburnt fuel to impact oil. If you have fuel in the oil due to bad injector spray patterns or misfiring cylinders, you’ll often see signs in the plugs.
- Coolant in oil clue: If there’s a head gasket leak, you’ll sometimes see creamy, frothy deposits on the spark plug or around the plug well in the cylinder head. It’s not definitive alone, but it’s part of the overall picture.
- Aeration clue: If the PCV system is misbehaving, you can see unusual wear patterns on plugs or sooty deposits that hint at crankcase pressure pushing by the rings.
A practical approach: pull a set of plugs and inspect for color, fuel wash, and deposits. Compare with a known-good plug from a similar engine. If you’re chasing fuel dilution, pay special attention to plugs from the cylinders that show the worst compression readings. The plug tells a corroborating story to the compression test.
Oil analysis: the lab you can DIY in a garage
For the bold or the curious, an oil analysis is the gold standard you can access without sending your car to a shop for a teardown. It’s not something you replace with, say, a blot test, but it adds a hard data layer to your diagnosis.
- What it tells you: The oil analysis can quantify how much fuel is in the oil, detect water or glycol, identify wear metals, and reveal contamination that you can’t see with the naked eye.
- When to run it: If you’re seeing mixed signals from the blot test and the smell, or if you’re approaching a high-mileage interval and want to know if the oil is still protecting the engine, sending a sample to a lab is the most reassuring move.
- Who to use: Look for an automotive oil analysis lab with a track record in engines you’re working on. Blackstone Labs is a common reference point in the DIY and professional communities for a reason.
A quick note from the field: I once had a customer who swore their oil was fine because the dipstick looked normal. The blot test looked ordinary, and the oil didn’t smell aggressively off. But the lab report came back with a measurable amount of fuel and water in the oil, along with elevated wear metals. It bought us time to plan a proper repair instead of chasing a false fix. Oil analysis isn’t cheap, but it’s a decision that pays for itself the moment you avoid a catastrophic failure.
The coolant leak angle: how to confirm head gasket or gasket-related faults
Coolant in the oil is the most dramatic signal of a serious underlying issue. If you see a milky appearance, foam, or a distinct “chocolate milk” look on the dipstick, you’re likely dealing with a head gasket leak, a cracked block, or a failing oil cooler.
- Pressure or block tests: A coolant pressure test can confirm if the cooling system is leaking into the oil, while a combustion leak detector (block test) confirms if exhaust gases are entering the cooling system. If either test is positive, you’re looking at a more serious repair than just topping off coolant or changing oil.
- Oil analysis is king here: If your dipstick looks milky but you want certainty, lab results can quantify glycol and water content, giving you a solid basis to decide whether an expensive head gasket job is warranted.
- Don’t ignore the aftermath: Low oil pressure, overheating, and unusual noises can accompany coolant intrusion. When you catch it early, you can plan for the necessary repairs rather than letting it mushroom into a bigger disaster.
An anecdote I won’t soon forget: A longtime customer brought in an old truck that had been running hot and had started leaving a faint milky film on the oil cap. The mechanic suggested a simple cooling system top-off. The customer insisted it was just an old engine and kept driving. Within a few weeks, the engine started knocking, and the head gasket finally let go. A proper diagnosis earlier would have saved both time and money, not to mention the failure risk. The moral: milky oil isn’t cosmetic; it’s a warning you should treat seriously.
Aerated oil: when too much air wrecks lubrication
Oil foaming or aeration can fool you into thinking you’ve got plenty of oil when you don’t. A foamy appearance, especially after a long drive, can be caused by overfilling, PCV faults, or a faulty oil pump that allows air to cavitate into the oil stream.
- PCV and venting: A stuck or clogged PCV valve can create excessive crankcase pressure, pushing air into the oil. A simple PCV inspection can reveal a lot.
- Overfilling and aeration: Overfilling the oil makes the crankshaft whip the oil into foam, which reduces the oil’s protective capabilities. If you’ve recently changed oil and topped it up to a higher level than usual, consider draining down to the recommended level and rechecking after a run.
- Correct oil viscosity: Using the wrong viscosity can contribute to aeration, especially in extreme operating conditions. Always follow the manufacturer’s spec, and consider a viscosity swap if you’re between temperatures or climates.
From the field: a customer once complained about foam on the dipstick after a long trip. They’d overfilled the oil during the last change. After draining a bit and correcting the level, the foam disappeared. It was a simple fix that saved a more serious problem down the line.
The blot test as a decision-maker: when to trust it and when to verify
The blot test isn’t a science fair project; it’s a practical guide that should shape your next steps. If you get a fuel-dilution signal from the blot test, you’ll want to check injectors, fuel trims, and possibly perform a compression test to see if wear is present in the cylinders. If the blot test shows coolant separation, you’re chasing a different root cause that often includes a leak in the head gasket or a compromised oil cooler.
Use the blot test to triage and to decide which diagnostic path to take next. It’s not the end point, but it’s the fastest pointer to the likely culprit.
A practical diagnostic flow you can actually follow
- Start with the blot test after a warm engine has rested for 5-10 minutes.
- Smell the oil. Note any strong gasoline scent.
- Check for foamy, bubbly oil on the dipstick and around the filler cap.
- Do a quick compression check to check for consistency across cylinders.
- Inspect spark plugs for signs of fuel wash or misfires.
- If the blot test and smell push you toward fuel dilution, verify using a targeted oil analysis if feasible.
- If you suspect coolant in the oil, perform a coolant pressure test and consider a block test.
- If aeration is suspected, inspect the PCV system, review oil level, and re-evaluate after correcting level and seals.
This flow is designed to be fast, repeatable, and educational. You’ll still want a professional opinion for anything beyond a straightforward scenario, but you’ll have confidence you’re not chasing the wrong problem.
Real-world case studies: when this approach saved the day
Case A: Fuel dilution caught early A customer on a tight schedule was worried about engine noise after a hard week of commuting. The dipstick showed a mild gasoline smell, and the blot test revealed a quick spread with a light outer ring. A compression check confirmed normal numbers, which ruled out ring wear. An oil analysis followed and confirmed low-level fuel contamination. The injectors were slightly leaking on one cylinder, not catastrophic, and a tune-up plus injector cleaning resolved the issue. The car was back on the road in a day with minimal downtime and cost.
Case B: Milky oil, but not a head gasket yet In another scenario, milky oil appeared on the dipstick. A coolant pressure test showed no leaks, but a block test found trace exhaust gases in the cooling system, indicating a small head gasket leak that hadn’t fully manifested as a dramatic failure yet. The shop recommended a measured engine repair plan—address the gasket before the next heat cycle caused more damage. The careful diagnostic approach saved the customer a larger, more invasive repair.
Case C: Aeration from overfill A tech saw foamy oil shortly after an oil change. A quick drain to the correct level eliminated the foam and restored normal oil behavior. It was an easy fix, but missing it would have caused confusion and additional misdiagnoses.
These aren’t just stories. They’re examples of how a disciplined diagnostic approach saves money and protects engines. Each case started with a simple dipstick cue and a plan to verify with targeted tests.
What I’d do differently if I started over
If I had to do this all again with 20/20 hindsight, I’d start with a structured, repeatable dipstick protocol that I could teach to any technician or curious DIYer. The ritual is worth developing: every oil change, every road trip, every new symptom begins with a quick sniff, a visual blot, and a glance at engine temperature. If you treat the dipstick like a diagnostic instrument rather than a level check, you’ll catch problems earlier and avoid the “it’s probably nothing” trap.
I’d also invest in a few practical lab tools: a spare blotter test kit, a small compression gauge, and a low-cost oil analysis option. The upfront investment pays for itself when you don’t have to replace engines because a simple diagnostic routine was skipped.
The takeaways you can apply this week
- Start with the blot test. It’s fast, repeatable, and often the most telling early indicator.
- Don’t ignore the smell. A gasoline odor in the oil is a signal that demands deeper inspection.
- Use compression testing to confirm whether a suspected fuel or oil issue has caused actual cylinder wear or ring seal problems.
- Inspect spark plugs for signs of fuel wash or misfires. They’ll support your conclusions from the tests.
- If the oil looks milky or you suspect coolant contamination, plan a coolant system diagnosis and consider oil analysis for a definitive answer.
- Aeration isn’t always dramatic, but it matters. Check PCV, oil levels, and the oil pump scenario if foaming appears.
If you’re a DIY mechanic, you now have a practical framework. You’ll move from “looks normal” to a real diagnostic plan that gets you to the root cause faster. If you’re a professional, you’ll have a structured approach you can share with clients who want to understand what you’re doing and why.
I’ve built this around the dipstick for a reason: it’s the simplest tool you carry that can reveal a lot of the engine’s story. With the right tests and a little discipline, you transform the dipstick from a lowly level gauge into a powerful diagnostic instrument.
And if you’re wondering how to keep this practice sharp, here’s one more 30-second tip: write down what you smell, what you see on the blot, and the color of the oil after a quick drive. The pattern will emerge. You’ll start to see correlations between certain cues and particular failures. It won’t replace lab data, but it will streamline your workflow and prevent needless, expensive detours.
If you want more hands-on walkthroughs, I’ve linked to the active tests and test sequences that helped me build a robust diagnostic routine, including how to perform a proper blot test, how to read spark plug wear in the context of fuel dilution, and how to interpret oil-analysis results without freaking out when the numbers aren’t screaming “fix me now.”
References
Ready to Optimize Your Dating Profile?
Get the complete step-by-step guide with proven strategies, photo selection tips, and real examples that work.