Troubleshooting Artifacts: Fixing Common Image Issues in AI Pet Portraits
Jan 30, 2026 • 9 min
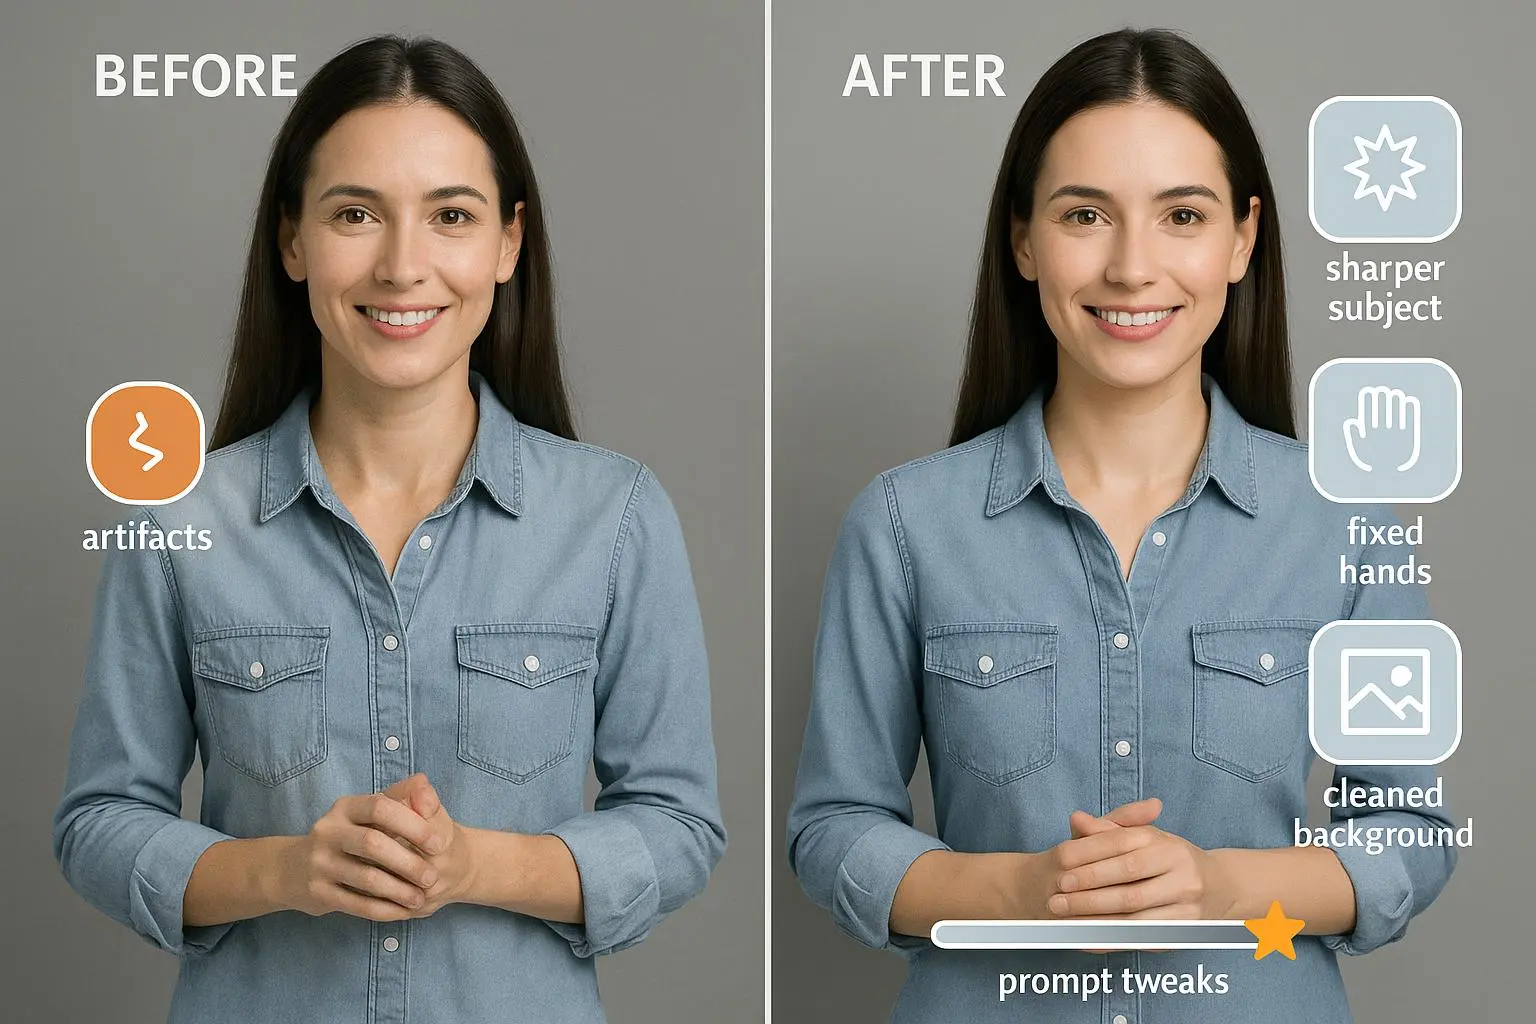
You got a gorgeous AI pet portrait on your screen—until you zoom in. The fur melts into wax, the paws look like an optical illusion, and the eyes... they have two pupils. Printing that will not end well.
I do this all the time: generate, nitpick, fix, print. The good news is most of those problems are predictable and fixable. You don’t need to be a Photoshop genius. You need a workflow that starts with the right prompt and ends with targeted manual cleanup. This guide walks through why these glitches happen and exactly what I do to turn an okay AI render into a print-ready piece.
Why AI pet portraits go wrong (and what that tells you)
AI image models—diffusion models and the like—learn by pattern-matching across millions of images. That power is also their weakness. Small, high-frequency details (individual hairs, accurate toes, realistic eyes) are rare in training data relative to broad shapes and colors. So when the model has to invent fine stuff, you get artifacts.
Three recurring classes of trouble show up in pet portraits:
- Structural anomalies: extra limbs, fused toes, misaligned ears (the “six-toed golden retriever” I once laughed at in a forum).
- Texture degradation: fur that looks plastic or waxy because the model smoothed away high-frequency detail.
- Compression/upscaling artifacts: blockiness, banding, and noise that become obvious when you blow the image up for print.
Knowing which category you’re facing lets you pick the right fix. Below, I’ll show practical steps from prompt to print.
How I actually make this work
Here’s my real workflow—what I do for every pet portrait that’s going to canvas or an art print.
- Spend time on the prompt. Be precise about anatomy, lighting, and lens.
- Generate several variations, pick the best structure.
- Upscale intelligently with a tool trained for detail recovery.
- Manually clean critical areas (eyes, paws, fur junctions) in an editor.
- Convert to the printer’s color profile and proof before printing.
I’ll dig into each step and give exact phrases, settings, and a small checklist you can use on your next project.
Prompt engineering: set the foundation before you click generate
Here’s what most people skip: the prompt is your pre-flight checklist.
- Be explicit with negatives. If your tool supports negative prompts, say it: "no extra limbs, no fused toes, no distorted eyes." Treat that like hygiene.
- Force detail. Add phrases like "hyper-detailed individual strands of fur," "8k detail," "macro lens," "sharp focus," and "photorealistic texture." You’re telling the model to prefer high-frequency detail over painterly smoothing.
- Use reference images. If your generator supports image prompts (Midjourney’s --iw, Stable Diffusion img2img), feed a clear photo of the pet for pose, coat pattern, and eye color. That anchors the model to reality.
- Simplify backgrounds during generation. Complex scenes can confuse the model’s attention. Generate the pet on a plain background then composite later.
Quick prompt example: "Portrait of a Siberian Husky, hyper-detailed individual strands of fur, sharp focus, 8k detail, studio lighting, macro lens, photorealistic, no extra limbs, no fused digits, correct anatomy, realistic eyes."
That last line—"correct anatomy, realistic eyes"—sounds dumb but it nudges the model away from weirdness.
Iteration: don’t accept the first result
I usually generate 8–12 variants. Pick the one with the best overall structure—even if the fur or eyes need work. Use "vary region" or inpainting features to regenerate only the problematic area. That keeps the parts that work.
If the face is almost right but the paws are off, mask the paws and regenerate. If the whole head is messy, discard and try a new seed with the same prompt.
Upscaling: do it deliberately
Most generators output too small for print. Naive upscaling just stretches artifacts. Use an AI upscaler trained for detail reconstruction.
My go-to is Topaz Gigapixel AI or Pixelmator’s ML Super Resolution if I’m on Mac. These tools don’t just interpolate—they reconstruct plausible detail. When a model reconstructs fur, it recognizes hair-like patterns and rebuilds them rather than amplifying blocks.
Upscale tips:
- Do a light denoise pass first if the original is very noisy.
- Upscale at most 2x–4x in a single pass; multiple smaller upscales often give more plausible detail than one giant jump.
- Compare results at 100% zoom; what looks fine on screen can reveal artifacts at print scale.
Post-processing: where 95% becomes 100%
Even with a careful prompt and smart upscaling, you’ll usually need manual cleanup. This is the part most people avoid but it’s where prints are won or lost.
What I touch every time:
- Eyes: The eyes sell the portrait. If they look "watery" or have extra pupils, open a clean reference photo and repaint irises with a soft brush at low opacity. Use dodge/burn subtly to add catchlights. If the pupil count is wrong, clone from the reference or rebuild the pupil shape with a small, hard brush.
- Paws and digits: Zoom to 300% and use the Clone Stamp or Healing Brush to separate fused toes and reshape pads. Use surrounding fur texture as the source patch. If the paw is beyond salvage, mask it out and composite a paw from the pet’s reference photo.
- Fur seams and transitions: Use a fine detail brush to paint in stray hairs along edges where fur meets background. A few hand-painted strands go a long way for believability.
- Noise reduction before sharpening: Apply a gentle noise reduction pass, then use a low-radius Unsharp Mask or selective high-pass sharpening on the eyes and nose only. Over-sharpening broad areas makes AI artifacts scream.
If you’re on a budget, Photopea (free web-based Photoshop alternative) has clone/heal tools and layers so you can still do this without Photoshop.
Micro-moment: once I spent 20 minutes painting a single whisker that the AI missed. It looked ridiculous on a screen but when printed at 16x20, that whisker anchored the whole portrait.
Color and print prep: avoid surprises
Monitors and printers speak different languages. Most AI outputs are in sRGB. Professional printers want CMYK or a specific ICC profile.
- Finalize all edits in sRGB, then convert to the printer’s profile as your last step.
- Do a soft-proof in Photoshop using the target ICC profile. Tweak saturation and contrast after proofing—some colors shift on conversion.
- If you’re printing on canvas versus glossy photo paper, the surface interacts with perceived texture. Canvas hides some digital noise, but it also exaggerates grain—so run a specific denoise pass if you’re printing on textured media.
A common issue: a portrait looks great on a monitor but prints dull. That usually means the proofing/conversion step was skipped.
Tool picks and where to use them
- Generators: Midjourney, Stable Diffusion variants, or DALL·E—pick the one that gives you the best base structure for your pet.
- Upscaler: Topaz Gigapixel AI (paid) or Pixelmator ML (Mac). For a fast free option, try Upscale.media for a first pass.
- Editor: Photoshop for power users; Photopea or GIMP if you need free tools; Snapseed or Lightroom Mobile for quick color and noise fixes on the go.
If you want a minimal, low-cost workflow: generate on a free Stable Diffusion web UI, upscale with Upscale.media, and clean minor issues in Photopea. It’s not as elegant, but it works.
Quick fixes for specific problems
- The eyes look weird: mask the iris, heal any extra pupils, paint a small catchlight, dodge the upper eyelid slightly to add depth.
- Fur looks like plastic: run a selective denoise, then paint in individual hair strokes along edges and highlights. Use texture brushes with low opacity.
- Extra limbs/toes: mask and use the clone stamp from a reference image; if that’s not available, use symmetry and surrounding fur to rebuild plausible shape.
- Blocky artifacts after upscaling: reduce with a median filter at low radius, then reintroduce fine detail using a high-pass layer blended quietly.
Common mistakes I still see (and I made them too)
Here’s what I used to do wrong—learned the hard way:
- Relying on "more megapixels" to fix anatomy. Bigger size makes anatomical errors more visible. Fix structure first.
- Sharpening everything. Sharpen the focal points only—the eyes and nose. Over-sharpening creates jagged artifact edges.
- Skipping a proof conversion. I once sent a print file to a pro lab without converting to CMYK. Colors shifted so badly the blues turned teal on the final canvas.
Personal story (100–200 words): I remember a commission of a senior golden retriever. The generated image had a beautiful pose but the front paw was a mess—fused toes and a weird extra pad. I tried another seed, tweaked the prompt—nothing fixed it. So I took a different tack: I masked the paw, sampled the same dog’s reference photo, and composited the real paw into the render. Then I matched color and painted a few stray hairs so the join vanished. The client was stunned; they thought it was "all AI." I told them the truth: the AI did 90%, but that last 10% was manual. The print sold at a local show for more than either of us expected. That taught me the value of blending AI power with human correction.
Micro-aside (30–60 words): One tiny trick I now always use: add a single, tiny catchlight in the eye if the AI forgot it. On prints larger than 11x14, that one dot of specular highlight makes faces feel alive.
Final checklist before you send to print
- Anatomy correct? (eyes, paws, ears)
- Upscaled with detail-aware tool
- Local denoise then selective sharpening
- Convert/proof in printer’s ICC profile
- Soft-proof and tweak color
- Save a layered file and a flattened print-ready TIFF or PDF
If you walk through that list, your print is going to look like a real, tactile object—not a misbehaving computer image.
Going deeper: technical notes and citations
- Texture degradation happens when models are trained on datasets lacking high-frequency detail—this nudges outputs toward painterly smoothing rather than crisp fur[1].
- Upscaling works best when the upscaler's network is trained to reconstruct detail rather than just interpolate pixels[2].
- Model output quality is strongly influenced by the diversity and quality of training data; generators trained more on digital art will struggle with photorealistic animal anatomy[3].
If you want more advanced reads, check the references below.
References
Footnotes
-
Zhang, K., Zuo, W., & Zhang, L. (2019). Learning Deep CNN Denoiser Prior for Image Restoration. IEEE Transactions on Pattern Analysis and Machine Intelligence. Retrieved from https://doi.org/10.1109/TPAMI.2019.2908799 ↩
-
Wang, X., Chan, K.C.K., Yu, K., et al. (2021). Real-ESRGAN: Training Real-World Blind Super-Resolution with Pure Synthetic Data. arXiv. Retrieved from https://arxiv.org/abs/2107.10833 ↩
-
Karras, T., Laine, S., & Aila, T. (2019). A Style-Based Generator Architecture for Generative Adversarial Networks. CVPR. Retrieved from https://openaccess.thecvf.com/content_CVPR_2019/html/Karras_A_Style-Based_Generator_Architecture_for_Generative_Adversarial_Networks_CVPR_2019_paper.html ↩
Ready to Optimize Your Dating Profile?
Get the complete step-by-step guide with proven strategies, photo selection tips, and real examples that work.